
The best thing about photography is that there are endless possibilities to compose a photo. Depending on light, subject, and situation you can use different techniques. One way to make a photo is black and white. Any distraction through color gives way to concentration on the structure and form of a place, object, figure or person. The history of photography began with black and white and it is still popular today. Do you want expressive photos? These are my Black and White photography tips, especially for beginners.
While you can rely more on the tones and colors in a color photo, a black and white photo lives from contrast and composing. So take your time to find your subject and create the composition.

Rules and tips for excellent black and white photos:
# 1 Just convert a bad color photo: NO!
The misconception is often to simply convert a poorly done color photo into black and white and it will become a good photo. Unfortunately, this does not work. A monochrome photo, in particular, must be well composed in the first place.
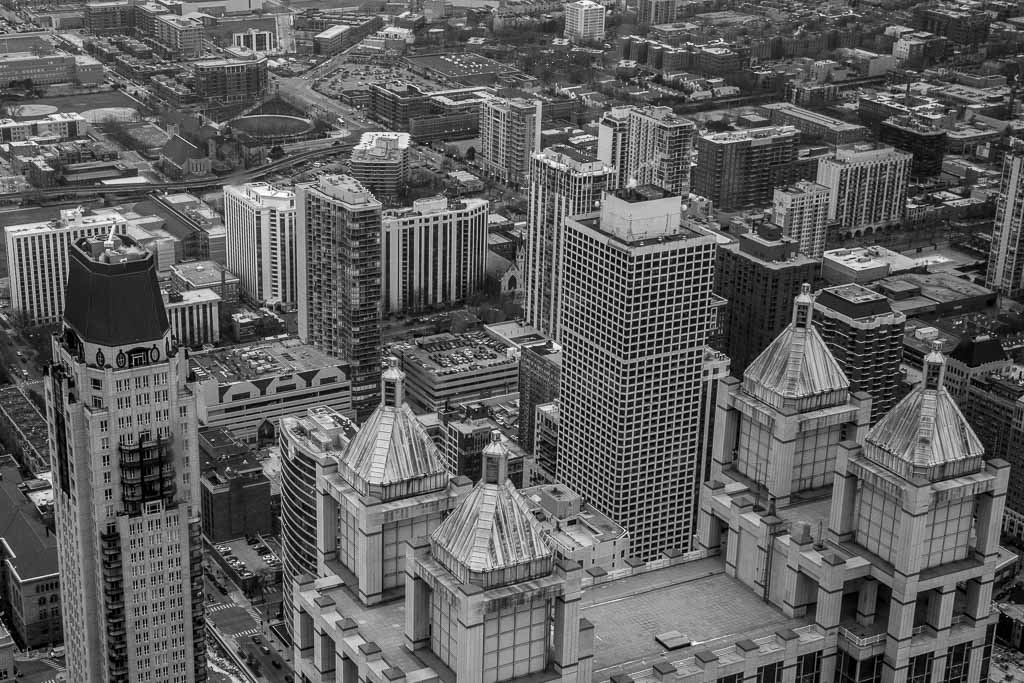
A snapshot from the city of Chicago. Doesn’t look great either in color nor in black and white

#2 Ask yourself: Is the subject interesting for black and white?
When you have found a great subject, look at the colors. Some high-contrast, strong colors look boring and flat without much contrast in black and white. If it helps, you can change the mode on the camera to monochrome. This will give you a first idea of how high in contrast your picture can look afterward.
# 3 Always shoot in RAW:
One of the most important camera settings for black and white photography is the RAW format. Only with RAW, you can develop a photo on the computer. If you choose Jpeg, however, the possibilities for image editing are very limited. So invest in a larger memory card and an image processing program to be able to shoot in RAW and edit the photos afterward.
# 4 Go for a correct Exposure
A black and white photo depends on a balanced tonal range. If you underexpose your photo too much, the dark parts of the image will appear as a dense black block. If you overexpose, you lose the details in the highlights. Most cameras have a setting that allows you to show overexposure. When this setting is on, you can see the overexposed parts in your photo blinking.
The challenge of correct exposure is especially with very bright and very dark parts of an image. It is often advisable to take two or more exposures and then combine them.
Another pro-tip in black and white photography is the so-called “expose to the right”. This means that you set your focus on the correct exposure of the highlights and the shadows will appear by themselves. If you use this technique, it is important to display the overexposure warning and work with the histogram. You change shutter speed, aperture or ISO to make the curve in the histogram move to the right. Make sure to avoid clipping, this means touching either edge of the histogram. Clipping indicates a loss of detail.
After you took exposed to the right you develop to the left. This means that the exposure control in your image processing software is moved to the left. The biggest advantage of this technique is a reduction of the image noise in the dark parts of the photo.

#4 The ISO setting
In connection with exposure, it is worth mentioning that ISO has a particularly important role. This is because if you need to lighten the shadows of your photo in image processing, you will soon notice a noise. As if the photo was taken with a higher ISO. It is therefore advisable to generally shoot with a lower ISO and to use a tripod.
#5 Histogram
The histogram shows you the exposure of an image. A good exposure shows a good balance with no ups and downs and no bumps at the ends. The further parts of the histogram point to the right, the brighter they are in the photo.
#6 Image composition
The decisive factor of whether a black-and-white photo is eye-catching is the composition. The color disappears and the viewer only has the content of the photo. Therefore invest time to study your subject and experiment with the composition of the image. Search for strong forms and leading lines that draw the viewer into the photo. Look for dynamics so that the viewer is absorbed by the photo. Structures, textures, patterns, strong contrasts, light, and shadow – these are your tools for an outstanding black and white image.
When to apply black and white in your photos
Black and white photography is still very popular and is increasingly used in some areas such as portraits or street photography. However, it is not only suitable for photographing people, but also for creating a dramatic atmosphere in a landscape, for example. Some examples of images in black and white:
Black and white portraits:
Photography once began with black and white portraits and so they are still in vogue today. Especially unevenness of the skin is less noticeable in black and white photos than in color photos. Simple colors of clothes work best on monochrome pictures. Apart from the light, the pose and facial expression are decisive for whether a black and white portrait turns out great.

Landscapes:
Although landscapes are usually associated with color, they are still suitable for black and white. Textures, shapes, and patterns are particularly easy to focus on if they are photographed without color and the viewer cannot be distracted by colors. In landscapes, you can find countless patterns and textures. You can create fantastic photos of a dramatic sky and simple but eye-catching objects.

Architecture:
Especially modern architecture with simple forms, blocks and lines can be striking in black and white. In this category, you can play with shadows and contrasts, highlight patterns and enhance structures. Make sure, however, that the photo has a great depth of field.

Street Photography
Henri Cartier-Bresson’s photographs still influence photographers who are known today and who have found their niche in street photography. Black and white photos are by far stronger than color photos. Probably the most logical reason is that you have to be fast in street scenes and don’t have the time to care about the colors in a picture. Black and white simplifies the photos and delivers expressive results. If you want to shoot street scenes, you should do it in RAW, but still set the camera mode to monochrome. This will give you an idea of how your photo will look without colors.

Documentary:
Documenting life or a story in black and white is quite powerful and intense. The Brazilian photographer Sebastião Salgado has documented numerous human tragedies very impressively in black and white. The pictures give the people a voice, they are meant to deliberately provoke and stimulate reflection.

Abstract photography in black and white:
What does abstract mean in the first place? For some people, a picture is abstract if you don’t know what the object is supposed to be, and for others, it is a clearly recognizable object, but it can also be seen in a completely different way. It can mean playing with angles, trying out perspectives, seeing patterns, looking for symmetries, going into detail. Light and image processing plays a fundamental role in abstract photography.

Recommended camera gear for black and white photography
No matter if you take photos in color or black and white, you will most likely use the camera you already have. If your camera has a monochrome function, you can use it to see the contrasts and tones as soon as you take a picture. Especially when you start shooting and can’t visually imagine a scene in black and white, this setting helps a lot.
Also, there are no special lenses for this kind of photography. Rather, one will use exactly those lenses that are used for portrait, landscape, architecture or street. For portrait, street, and documentary, some fast lenses are highly recommended, as here, one does not work with a tripod.
In order to get even better results in black and white, it is useful to work with color filters. The result of a photo with and without color filters differs mainly in the tonal range. Certain tones can be enhanced by using filters.
A red filter enhances the contrast of red, brown, and orange, and is useful for example for landscape photography in the fall. A yellow filter is used to enhance the blue sky. It can be said that a color filter brightens the color of the filter in the image and enhances the tones of the complementary color. ND filters are used for long exposures for special effects such as a blurring of clouds or a mystical water surface.
For landscape and architectural photography, I strongly recommend using a tripod to take sharp pictures. You should also carry a remote control to prevent shaking when taking pictures.
Small cameras are suitable for street photography if only because with a small camera you can blend in with people much more subtly.
Image editing software
In photography, almost nothing works without post-processing. It is essential in black and white photography. There are numerous image editing applications. These are 3 I can totally recommend:
Lightroom:
Lightroom* is quite easy to use and comes with additional (paid) plug-ins. Especially Silver Efex Pro 2 from Nik is an interesting software with which you can achieve incredibly great effects. The plug-in is also compatible with Photoshop.
Capture One:
Capture One is similar to the concept of Lightroom as it also has a catalog function. For black and white conversion, Capture One offers a special tool and even a dedicated workspace.
Photoshop:
Photoshop is still the favorite among image editing programs and is used by all photographers. Of course, Photoshop also has the ability to convert a color photo to black and white.
Pioneers of black and white photography:
You might want to be inspired by some of the pioneers of black-and-white photography.
Ansel Adams is definitely one of them and became famous for his landscape photography. He is still a role model for many landscape photographers, his photographs of the American wilderness are simply breathtaking.
The Frenchman Henri Cartier-Bresson was THE street photographer par excellence. He was a master in being inconspicuous and photographing people. Most people didn’t even notice they were being photographed by him.
The Brazilian Sebastião Salgado shot incredibly great and at the same time moving documentaries. “The Salt of the Earth” is my personal film recommendation.
The Frenchman Elliot Erwitt is well known for his funny photos of people with dogs and if you are interested in fine art architecture photography, you should have a look at the works of Joel Tjintjelaar on 500px.
This article contains Affiliate Links marked with * which means that I will get a small commission if you book via my link. The price for you does not change! Thanks for considering.


